Koha ILS
Inventory - Part 2
 by Jessie Zairo on Jan 17, 2018
In this Koha tutorial Kelly and Jessie will walk you through using the inventory tool to run a inventory breakdown of a library, shelving location or itemcallnumber. We will discuss filtering statuses and exporting results. This is part 2 of the inventory series. You can learn more about the inventory in part 1 where we discuss uploading a file of barcodes.
Koha’s Inventory Tool can be used in one of two ways, by generating a shelf list that you can then mark items off on (through the module on a mobile device or laptop or by printing), or by uploading a text files of barcodes gathered by a portable scanner. We will walk you through the steps of generating a shelf list in part 2.
Steps to Generating a Shelf List
- First, go to More > Tools > Catalog > Inventory
- Choose the following location filters to narrow down by a certain area in the library (this will make it easier for you to do a specific section at once
- Library – Home, Current, or All Libraries (or a specific branch)
- Shelving location – Select a section you may want to look at
- Call number range – select a callnumber between do sections (for example 635 – 635.9)
- The next section includes optional filters for inventory lists or comparing barcodes
- If you select any of these boxes (example Lost or Missing), this will filter the results on the next page to show you all items that are marked lost of missing (depending on what boxes you check).
- If an item has a lost status, and the barcode was included in the file, the inventory tool updates the status but does not report the status change on the results page.The next section includes optional filters for inventory lists or comparing barcodes
- Last Inventory Date – you can skip records marked as seen on or after this date
- You can also select the box for skip items on loan (so those are removed from the shelf list
- Additional Options
- if you want to export the results in a CSV file select the checkbox below.
- Finally hit submit.
- This will provide an inventory list by date where staff can either
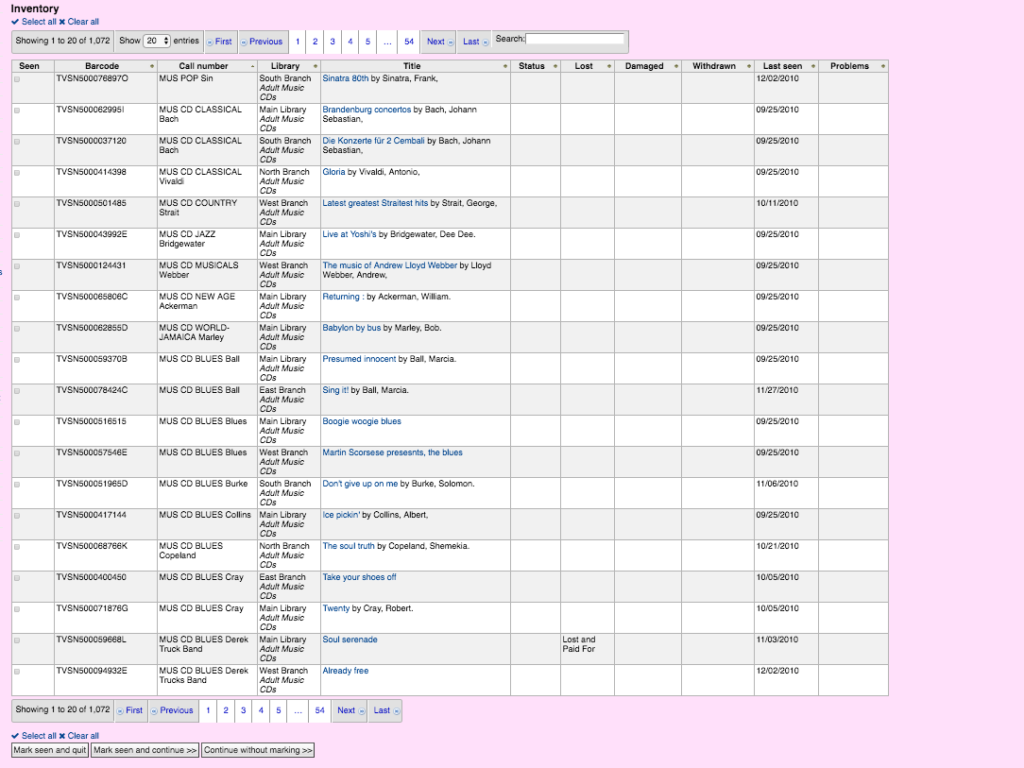
- This will provide an inventory list by date where staff can either
-
- print the list off and walk to the shelves to select what is there
- or take a mobile device or laptop to the shelves and mark the items
- Once the items are selected in the list by clicking the left hand column marked seen, you can use the 3 buttons at the button to confirm the submission

- Mark Seen and Quit – change the items inventory dates and close out the inventory tool
- Mark Seen and Continue – which will take you to the next screen / pages/ result list
- Continue without Marking – You didn’t find anything on the shelf and want to go to the next page of results.
View other Koha tutorials on the ByWater Solutions’ Blog or subscribe to our YouTube Channel for the latest Koha tutorial videos.
Read more by Jessie Zairo